For the sake of this article we are going to assume that both of our athletes have zero red flags, no pain, no previous injury history, and no reason to refer them to a medical practitioner.
More times than not, we see two different types of athletes – one athlete that is a modern-age ‘Gumby’ and another that is stiffer than every barbell in the weight room. Both can perform adequately in their respective sports, but both present glaring neural deficits.
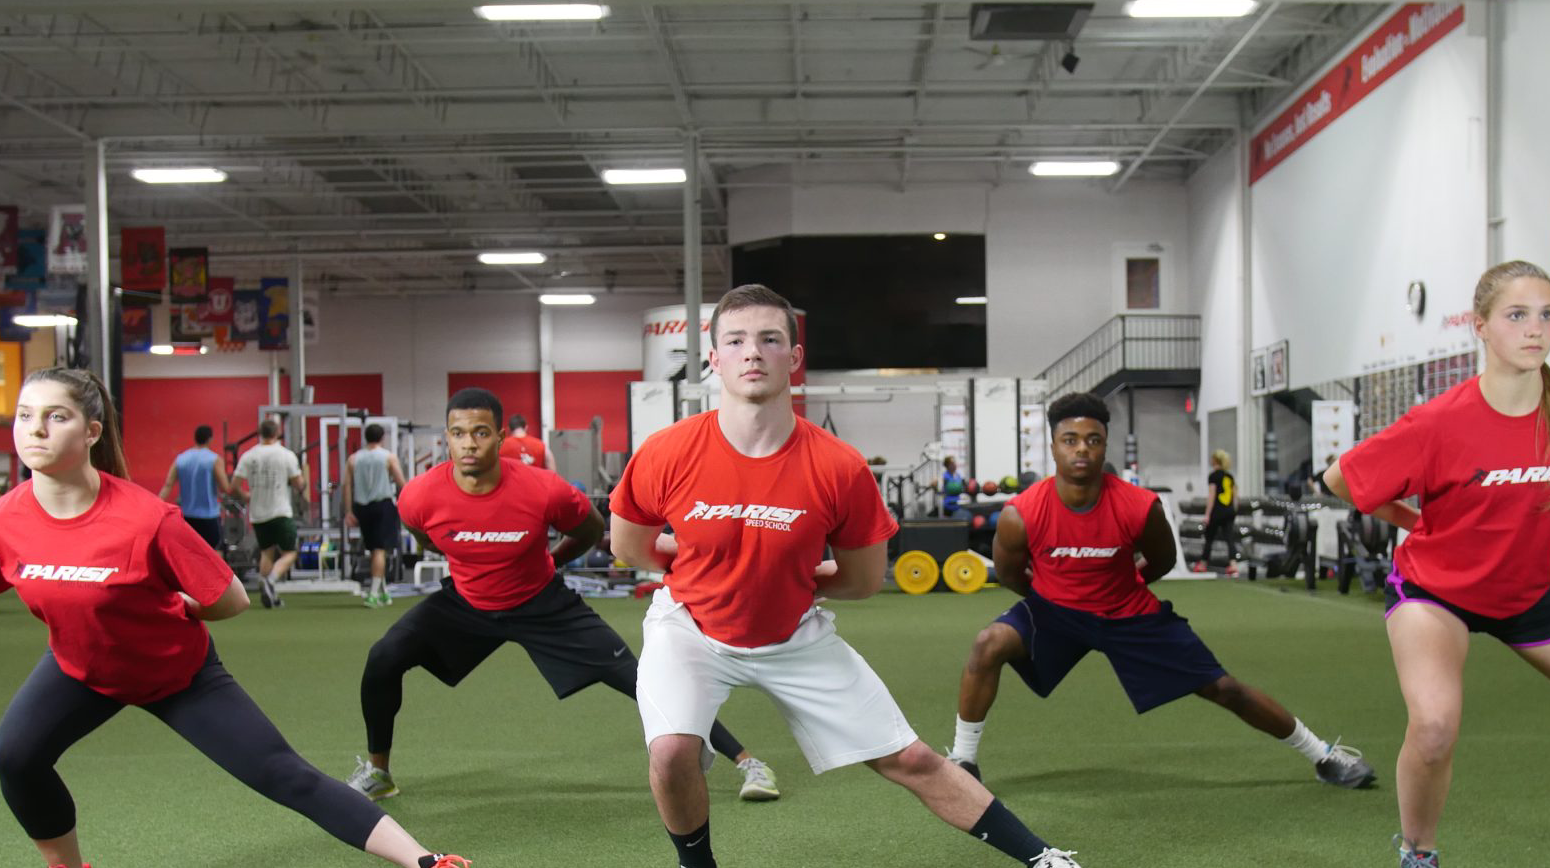
Our Gumby kid is a wet noodle. During the warm up, they can sit their butt to the ground and during the lying leg kicks they can lick their patella. Clearly this athlete needs MORE motor control over their passive ranges of motion.
Our other athlete is so stiff it hurts to see them squat, and they can barely raise their leg off the floor during the lying leg kick. This kid has so much neural tone that their motor patterns lock up.
However, when you put both of these athletes on the track, they put up some decent laser times. Why is that?
Your central nervous system (CNS) can play some pretty gnarly tricks on you. Neural tone, reciprocal inhibition and Golgi tendons telling your body “no, no, no!” They come at the least expected times, and can really throw a damper on athletic performance.
So, what do you do?
If you read part one to this series then you’ve already conducted your passive and active assessments and know where your athlete has deficiencies, and you’ve introduced your athlete to CARs to help build motor control to their limbs and joint movements.
Okay, so now what do you do?
PAILS and RAILS
Progressive and Regressive Angular Isometric Loading, better known as PAILs and RAILs are a series of isometric contractions that give force inputs to joint structures, as well as your central nervous system, that help expand one’s current range of motion.
Understanding a PAILS Contraction
Whether you call them PAILS, RAILS, PNF, Contract-Relax, they all work around the same principles of short-term maneuvering of the CNS. The force input from the isometric contraction allows for a reduction in the stretch reflex that is inhibiting the joint from expanding further in to a larger range of motion.
Reminder: We are assuming, for the sake of this article, that this individual has no bony-blocks, no damaged connective tissue, and no reason to refer out to a medical practitioner.
Setting Up for Your First PAILS Contraction
Remember in the first part of this series when I said that passive flexibility played a major role in range of motion? It’s coming back again.
Let’s say that I am trying to improve my hip internal rotation. I currently measure at 5 degrees and I need more internal rotation to improve my ability to squat, flex at the hip, and cut laterally, cool? Cool.
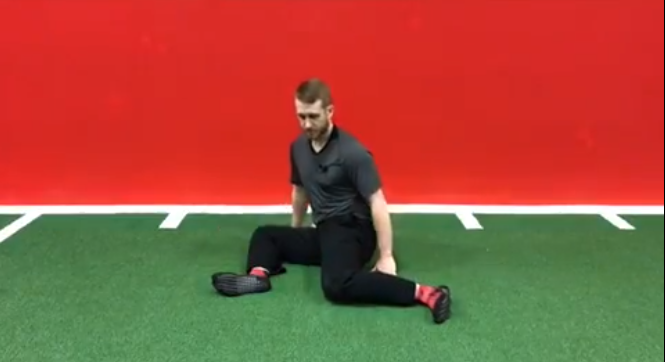
To start your PAILS contraction, you need to passively set up in a position that drives hip internal rotation. This is where your passive ‘flexibility’ comes in to use.
Setting Up in Regressed Hip IR Position
Lets flip the coin real quick, maybe I am part Gumby and have 30 degrees of hip internal rotation and I need to learn how to control that awesome range of motion. Isometrics can help me do that, too. I might just set up in a little more challenging position like this:
90/90 Hip IR
The force inputs from the isometric contractions, while in my greater passive range of motion, is going to strengthen the connective tissue in that position. Range of motion gains!
Okay, so I have found the position that is going to allow me to train hip internal rotation and not make me feel like I am going to rip my entire leg off my body. Here are the next steps.
- While in your position, focus on deep, diaphragmatic breathing. With each breath, focus on finding the stretch and relaxing in to the stretch. Do this for about 2 minutes.
- Pro Tip: Try doing some CARs in these positions while you passively stretch for the 2 minutes
- After the 2 minutes is over, start to ramp up your isometric contraction. DO NOT just jump right to 100% effort. You wouldn’t jump right to your one-rep max deadlift, would you? Uh, no. Think of this ramp up process just like your build up sets to your top end sets for the session.
Ramping Up
- Complete your initial PAILS contraction for your desired duration. I typically program somewhere around 6-12 seconds depending on how hard I ramp up. Don’t overthink this. It’s basic strength training principles. Time under tension, intensity of load, etc.
- After your PAILS contraction, avoid losing tension and go right to your RAILS contraction. Again, somewhere around 6-12 seconds, just like the PAILs contraction.
Understanding a RAILS Contraction
Repeat steps 3 and 4 for your desired number of repetitions. For the average person, 2-3 sets will get the job done.
The last thing you need to understand is that we just expanded a range of motion. If I had 5 degrees of hip internal rotation and now I have 20 degrees, there are 15 degrees of movement that my body is unaware of how to use properly. Be very cautious as to how you program for athlete’s after PAILs and RAILs, moving aggressively through an untraveled range of motion can put your athlete at an increased risk of injury.
For example, say I did a few sets of 75% effort PAILS and RAILs from 90/90 and focused on improving my hip internal rotation. I do this before every training session to increase exposure and work in sub-maximal efforts to make sure I don’t overexert and can do this 3-5 times per week. When I go in to my lower body workout, maybe my training looks like this…
- Barbell Box Squat @ 15” (parallel) 3×8 @ 75% effort / Tempo 221
- Dumbbell 1-arm Row 3×10 @ RPE 7 / Tempo 221
- BW Split Squat with Internal Hip Rotation 3 x 6 per leg @ RPE 6 / Tempo 333
The lighter load of the split squat with hip internal rotation gives the athlete a change to increase the load with body weight, work at a slower tempo to drive time under tension, and progressively overload the new range of motion we expanded with our initial PAILs and RAILs effort.
Stay tuned for part three of this series where we cover more options for controlling new ranges of motion!
About the Author: Casey Lee

Casey Lee, Parisi Speed School Program Director at The Edge in Williston, Vermont, has been with the Parisi Speed School since 2011. He has had one of the fastest tracks of any performance coach, becoming the youngest Master Coach in the Parisi network from 2014-2017. During this time he provided sports performance programming and educational content throughout the entire Parisi network. He also traveled to various Parisi locations through out the country to teach and certify new and existing Performance Coaches in the Parisi sports performance protocols. Casey’s mission is to help others better their physical, mental, and professional wellbeing through fitness and positive interaction.


